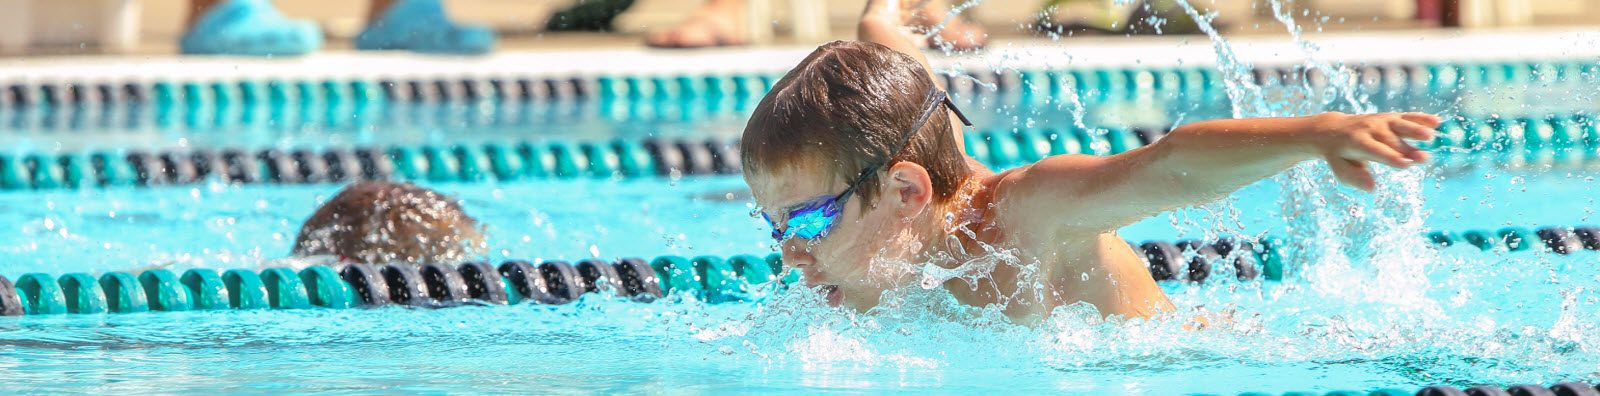

For those who have an in-ground vinyl pool, you know at some point you will need to replace the liner. On average, a vinyl liner will last between 10 to 15 years with proper care and maintenance. When a pool liner needs to be replaced, often homeowners will look at their pool and wonder how the liner is actually replaced. Metropolitan Pools will share what steps are involved when replacing an in-ground vinyl pool liner to help better prepare the homeowner for a liner replacement. It is natural to want to know how a pool liner is replaced. Homeowners often wonder how long it will take, what is involved, and what the homeowner needs to do to prepare for the liner’s replacement. With that in mind, we will share each step of an in-ground pool’s vinyl liner replacement.
How Do You Replace a Vinyl Pool Liner?
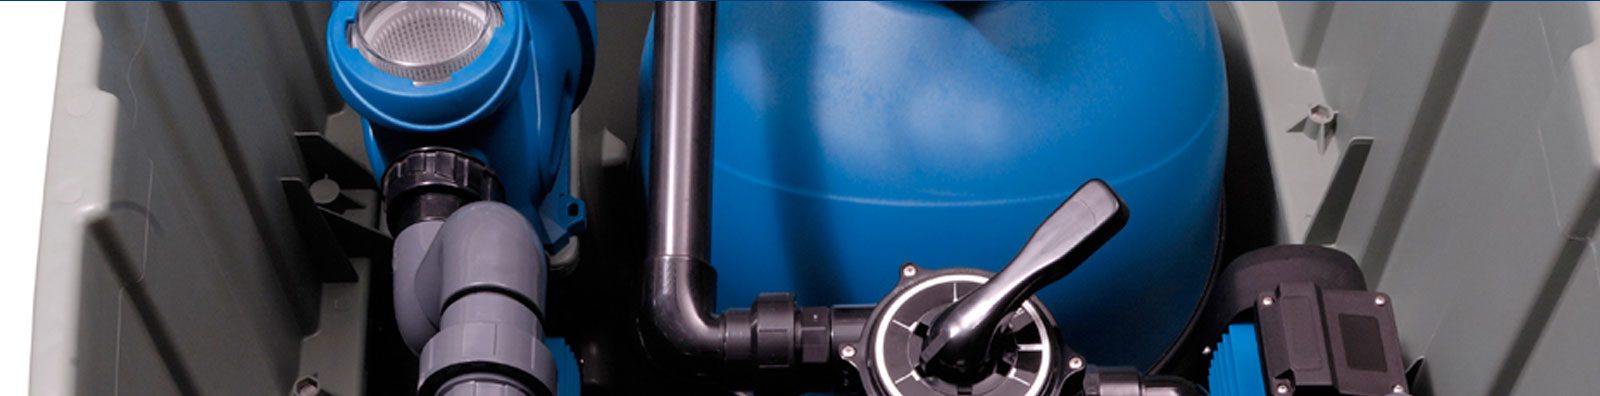
Step 1. Shutting Down the Pool – the very first step when replacing a pool’s liner, is that the pool pump, filter system, timers, and lights will all need to be shut off. This is something the homeowner can do if they want. However, the replacement team can also handle this step just fine.
Step 2. Draining the Pool – Next, the pool will need to be drained of its water. The liner replacement crew will come fully prepared with pumps to drain out your pool. Do not feel like you need to rent out pumps as this is part of the liner replacement service.
Step 3. Removing the Old Liner – Once the pool has all of the water pumped out of it, the next step is to remove all of the liner’s faceplates and gaskets. Often a utility knife is used to cut the liner from the pool. The last of the liner piece is then removed from the track and disposed of properly.
Step 4. Inspection and Repair – Once the liner has been removed, the pool walls and floors will be inspected. It is important to repair cracks, corrosion and other defects before installing the new liner. If any flaws are discovered, they will be repaired. After all of the repairs are completed, the side walls and floor will be cleaned and made ready for the liner to be installed.
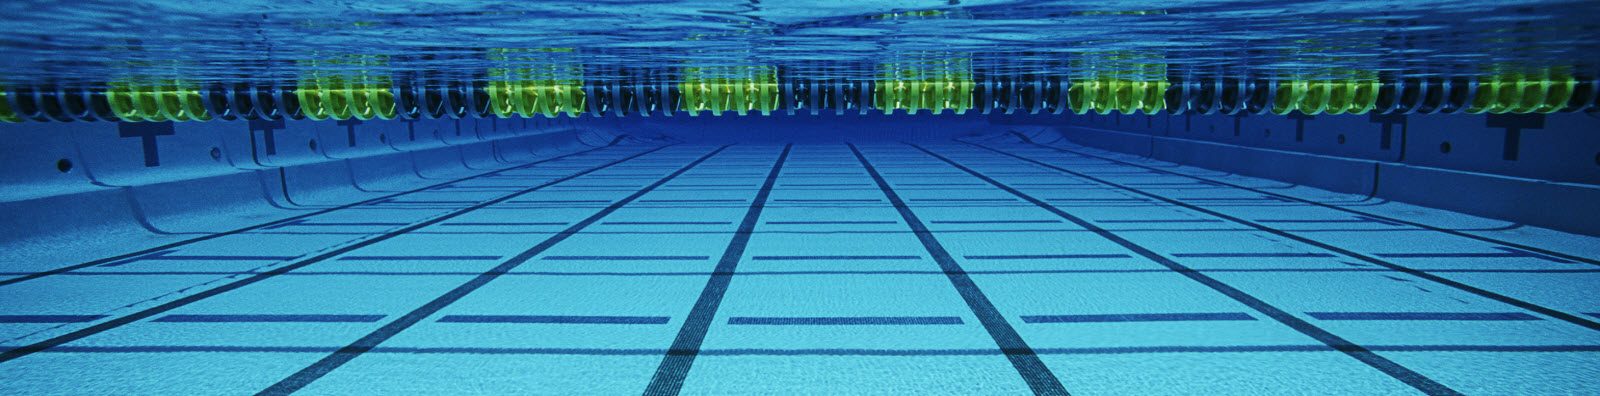
Step 5. Installing the Liner – If the homeowner wishes, a foam liner can be installed to provide an additional barrier and help protect the liner of the pool. If the homeowner opted for the foam liner, that will be glued down first. The liner is then placed into the center of the pool. The liner is opened up and rolled out to align the liner with the pool’s frame. With the liner properly aligned, it will be tucked into the track, tightening the liner and making sure there are no wrinkles in the liner. With the liner nice and tightened, the liner is sealed to the track and the faceplates and gaskets.
Step 6. Filling the Pool – Once the liner has been properly installed, it is time to prepare the pool to be filled back up. First the main drainage system is installed. Next the pool will begin to be filled up with water. As the water begins to fill up, you will slowly turn on the various operating systems and begin balancing the pool chemistry. Once the pool has reached its capacity, the water will need to be turned off. It is important to monitor the pool chemistry in the event you need to add more chemicals.
Vinyl Pool Installation, Repair, Maintenance & More in Sandusky, Lorain, Elyria, Medina, Parma, Mentor, Akron & Greater Cleveland, Ohio
Replacing an in-ground pool vinyl liner is no easy task. If you need your pool’s liner replaced, contact Metropolitan Pools today.